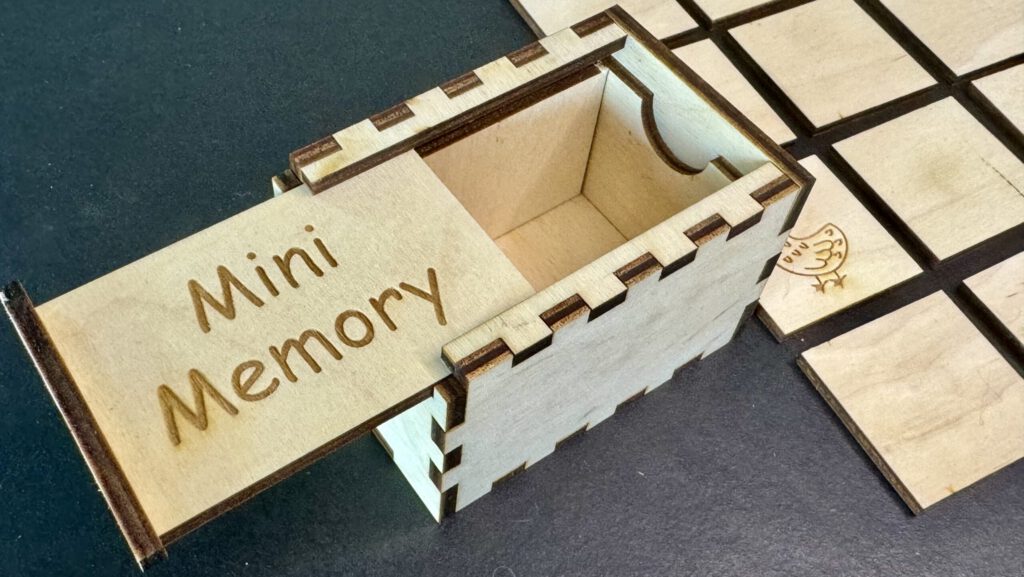
Recently, I saw a memory game made of wood and thought it would be a fantastic project for my laser. To ensure the game cards are stored properly, I decided to also create a beautiful wooden box. This makes the game travel-friendly and turns it into an exciting DIY laser memory project.
Materials
For our memory game, we’ll need approximately one A4 sheet of plywood. I use birch plywood from WOOD4PROS. With the code “laser-crafting” you get 15% off your order. However, regular plywood from the hardware store will also work. This keeps the material costs around €2. If you have leftover plywood and the patience to laser each card individually, the material costs could be as low as €0.
The Memory Game Cards
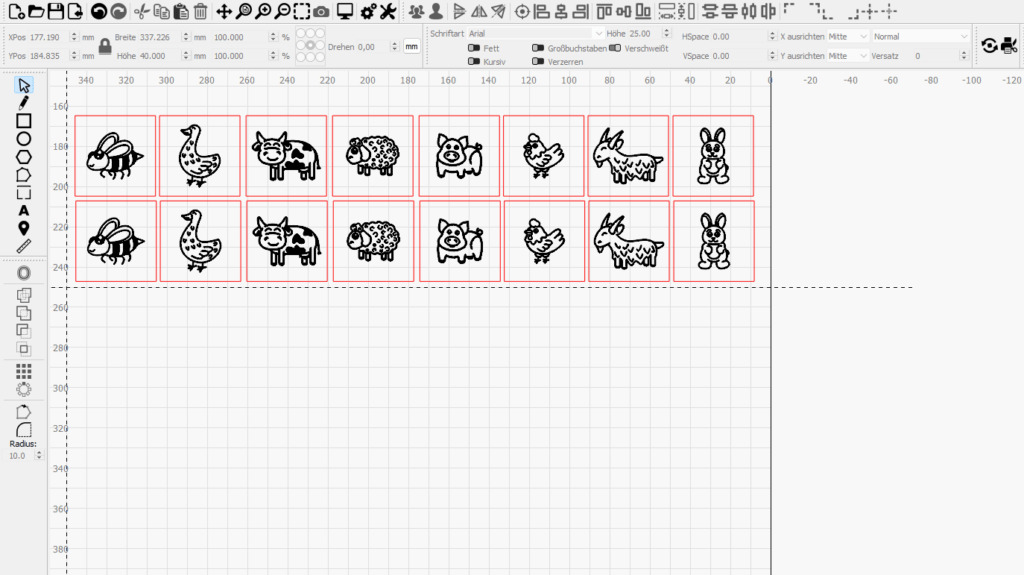
I designed the game entirely in Lightburn. First, I created 16 small rectangles measuring 40mm x 40mm. I arranged them in two parallel rows. This allows the laser to engrave a long path later, saving a lot of time compared to engraving each card individually. If the cards were arranged vertically, the laser would take nearly twice as long. It’s worth experimenting with Lightburn’s preview feature, as it provides an accurate time estimate.
For the designs, I wanted adorable animals. I already had a template that was part of a huge, free bundle from www.designbundles.net. Most bundles, containing hundreds of designs, cost between €1 and €5, but occasionally you can find some for free, and they can be used commercially with no time restrictions.
The Box with boxes.py
For the packaging, I once again used a custom-made box from boxes.py. I’ve described the detailed step-by-step process of how to use boxes.py to design your own custom-made boxes with inserts for free in the article Laser Cut Project – Build a Wooden Box with Boxes.py.
For the memory game, I designed a card storage box with a sliding lid. The internal dimensions are 40mm in height and 41mm in width, leaving some space for the cards to slide in and out easily. Since I use 4mm thick material and need 16 x 4 = 64mm length, I added a little extra and entered 66mm. (Edit: During assembly, I found that 65mm would also have been sufficient.) To open the sliding lid from the short side, I selected “right” for “openingdirection.”
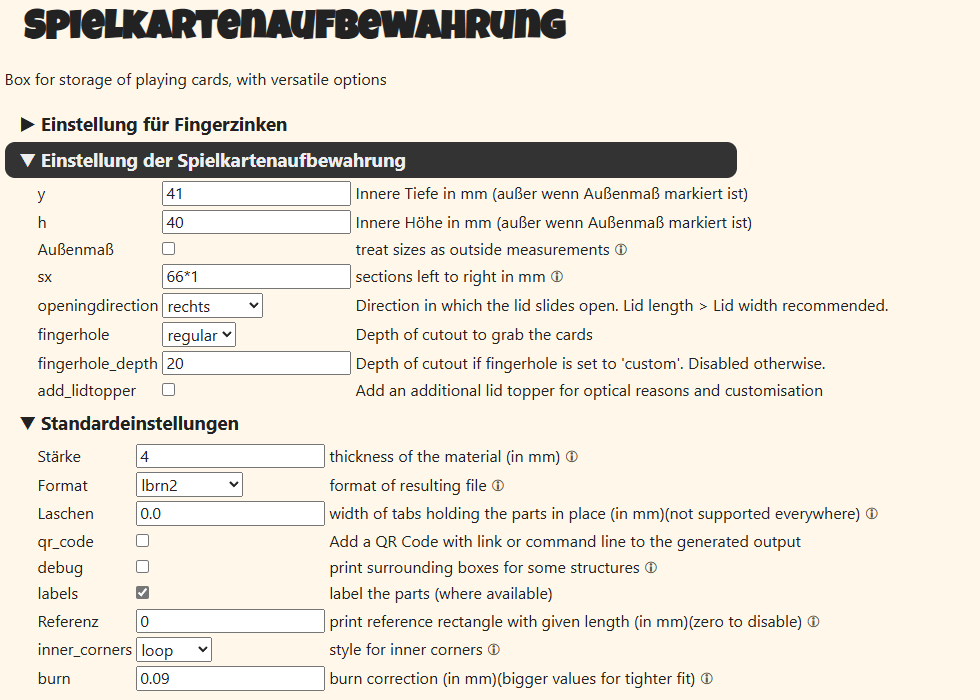
Now, I just needed to input the material and laser parameters, and the box construction was complete. My settings were 4mm thickness and a burn value of 0.09. To save you the trouble of entering everything manually, you can use this link to directly transfer the values to the box generator: laser-crafting-memorybox.
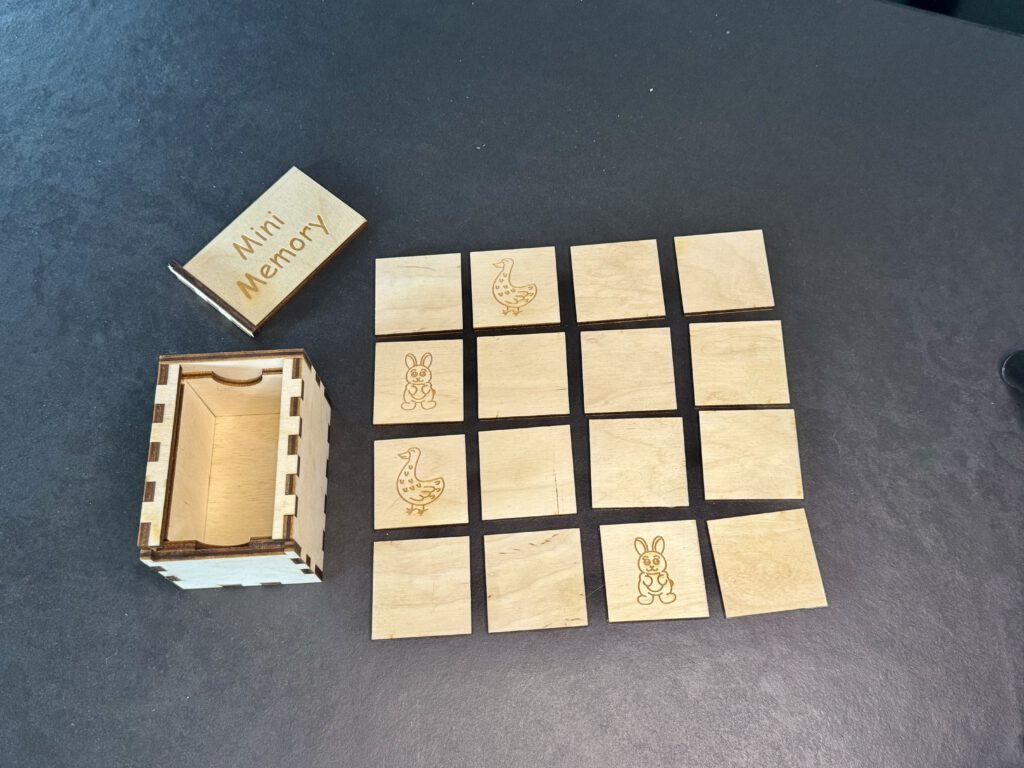
The result is imported into Lightburn along with the game cards for editing. I assign the cuts to the red layer “02” and the markings to the tool layer “T2”. Although the tool layer isn’t output to the laser, labeling the parts in the program makes assembly easier later. Finally, I label the lid so that it shows what’s inside. 🙂
Download Project File
")

")