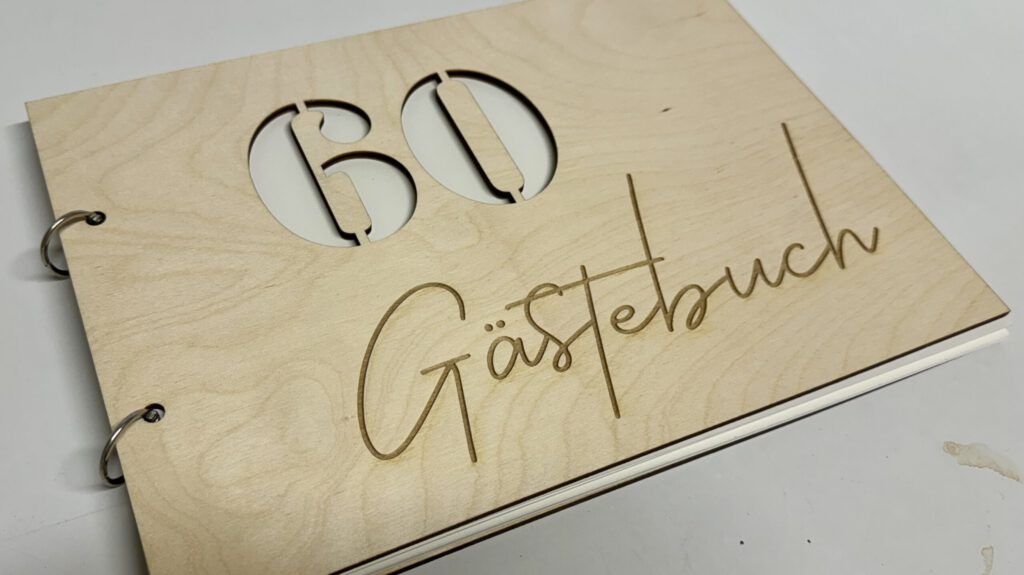
A guestbook is a wonderful way to capture special moments and the people who share them with you. With a DIY lasercut guestbook, you can create this keepsake in a truly unique way. In this article, I’ll show you how to make your own guestbook. Of course, you’ll find all the templates available for free download at the end of the article.
Materials for the Lasercut Guestbook
Creating the Template in Lightburn
The template in Lightburn is very easy to create. It consists of three main parts: the frame, the engraving, and the cutout. Let’s go through these steps one by one.
1. The Frame
Start by drawing a frame in the size of the paper format. I chose DIN A4 in landscape orientation. DIN A4 has standard dimensions of 297mm x 210mm, which I input in Lightburn for the width and height of the rectangle.
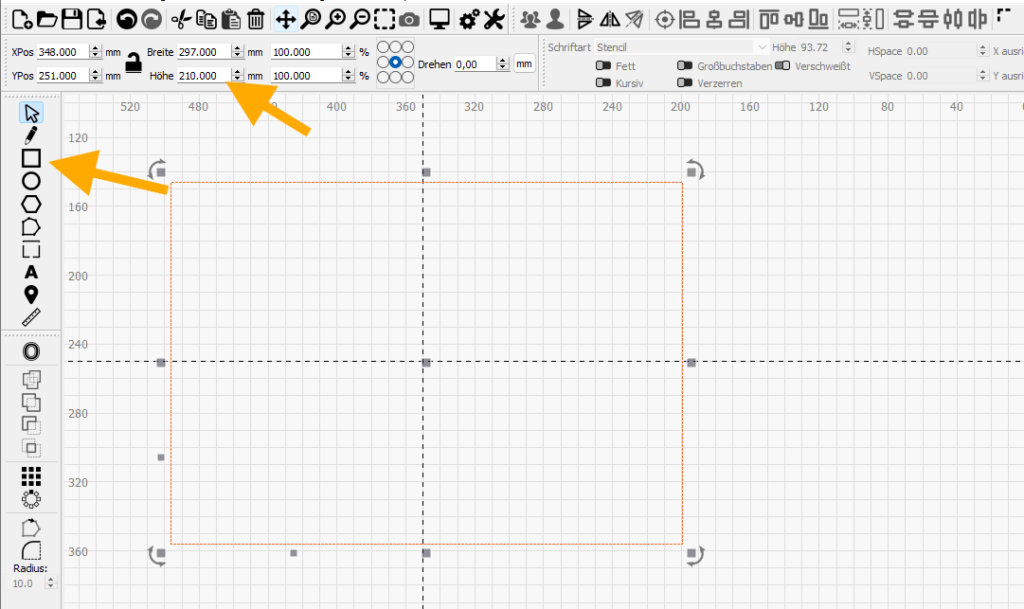
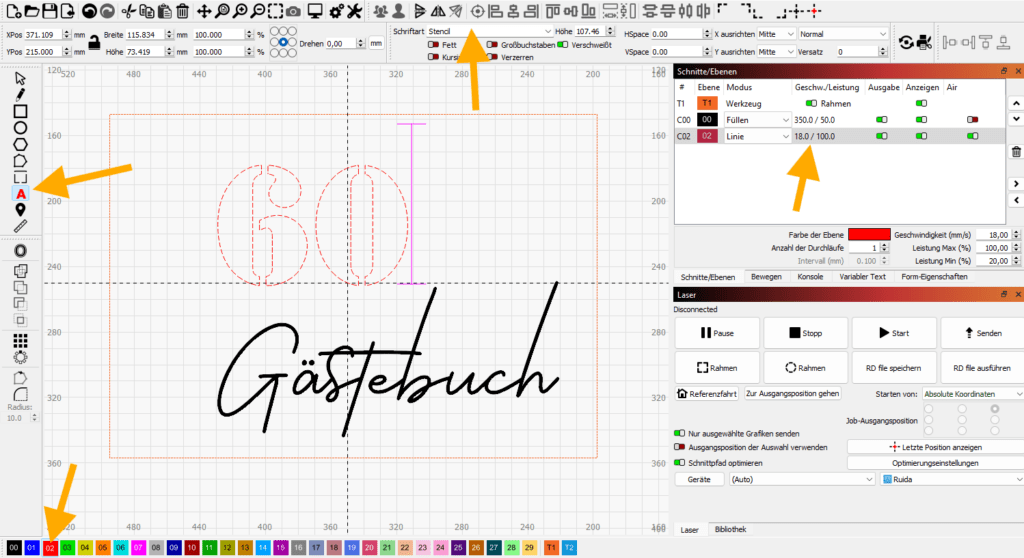
For this, I selected the tool layer “T1” in the layer toolbar at the bottom. Since I’m using pre-cut DIN A4 plywood sheets, the frame will help me precisely align the sheets in the laser later. If you want to cut the front and back covers of the guestbook yourself, use layer “02” and assign the appropriate speed and power values for cutting your material.

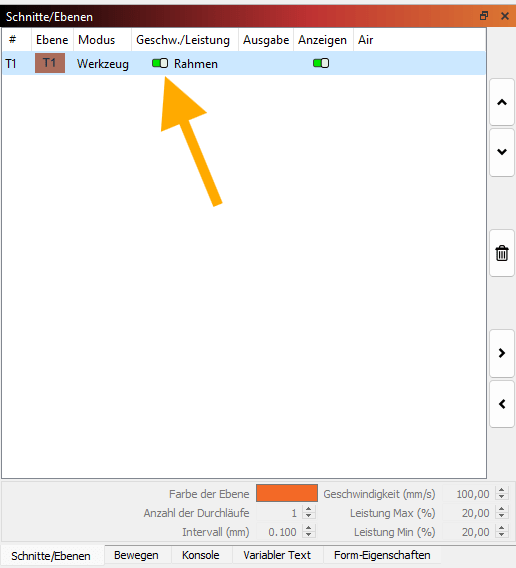
Make sure the “Frame” checkbox is enabled in the layer settings at the top right in Lightburn. This ensures that Lightburn will outline the frame with the laser later, allowing precise positioning of the sheets.
2. The Engraving
The guestbook cover should clearly state its purpose!
For this, I chose a beautiful handwritten font from FontBundles.net. You can find tips on downloading and integrating new fonts into Lightburn in this blog post.
The font used for our guestbook is “California”, which is free for personal use. You can download it here.
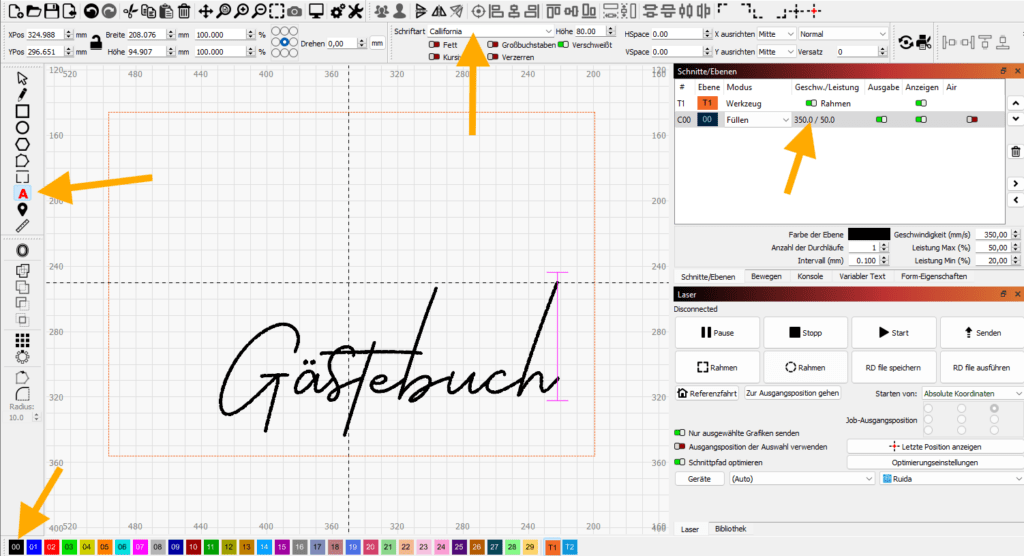
To add the engraving to our template, I used the “Create Text” tool in Lightburn’s left toolbar, selected the “California” font, set the font size to 80, and assigned the text to the black layer “00.” The speed (350mm/s) and power (50%) are my standard engraving settings for birch plywood. I determined these values using a test card and saved them as default settings in Lightburn.
3. The Cutout
The guestbook cover should have a special touch. Since it’s for a milestone birthday, I decided to cut out the number 60. However, cutting text can be tricky. Closed letters and numbers like O, a, and 9 lose their inner parts when cut out.
To prevent this, I used a stencil font that ensures all inner elements stay connected. Lightburn already includes a font named “Stencil” for such cases. I assigned the “60” to layer “02” and used my cutting parameters for 3mm birch plywood (speed 18mm/s, power 100%).
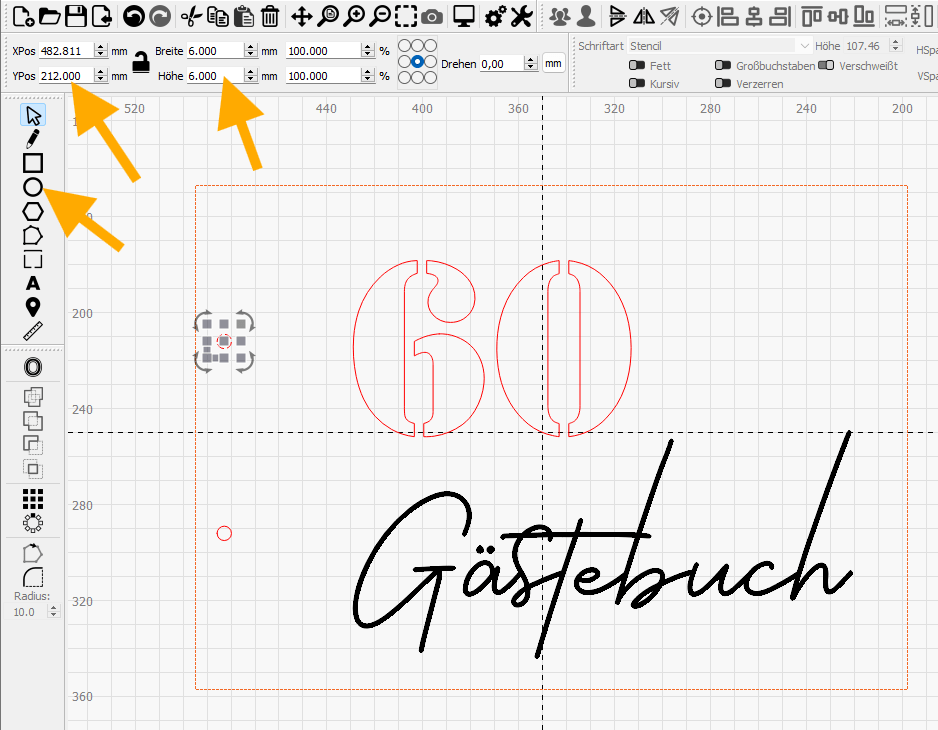
To bind the guestbook together, holes must be added to the front and back covers. The standard spacing for A4 punch holes is 80mm (center-to-center). All holes have a diameter of 6mm and are 12mm from the edge. The exact positioning can be set using the XPos and YPos values in Lightburn.
Done! Now it’s time to move to the laser.
Download Vorlage
")
")
")
")
ADVERTISEMENT: The links marked with an asterisk (*) are affiliate links. If you click on such a link and make a purchase on the destination page, we receive a referral commission from the respective provider or online store. This helps us cover our costs (e.g., web hosting). There are no additional costs or price disadvantages for you when purchasing.